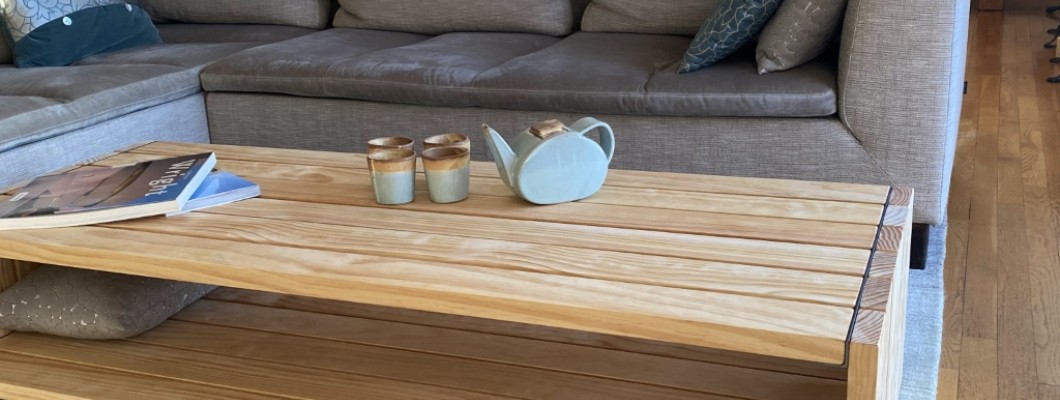
Build Your Dream Coffee Table (or Bench!) in Under an Hour (with Video!)

Before You Begin:
- Watch the assembly video included below to familiarize yourself with the process. This will help ensure a smooth and successful build.
- Power drill: This will be your main tool for driving the screws into the wood and angle bars.
- Screwdriver (optional): While not essential, a screwdriver can be helpful for pre-tightening a few screws (if desired) before using the power drill.
- Unbox your components: The package includes pre-cut wood boards, iron angle bars, screws, and 1/4" spacers.
- Find a clear workspace: For a smooth process, assemble the product on a clean, flat surface against a straight wall. This will ensure proper alignment.
- Helping hand: While most of the assembly can be done solo, an extra pair of hands can be helpful when attaching the second-level horizontal boards.
- Screw it right: The angle bars have pre-drilled countersunk holes. These will hide the screw heads once driven in, creating a clean finished look.
- Pilot holes: The wood boards have small guide holes to mark screw placement. For soft woods, like pine, we don't pre-drill full pilot holes, we drill just enough for you to guide the screw into the center.
Let's Build!
Lay the foundation: Start by placing the leg pieces (vertical boards) flat on the floor, following the layout for your chosen table/bench width. Insert the spacers between the leg pieces and push them against a straight wall (or another straight edge) for perfect alignment.
Attach the first angle bar: Lay the first angle bar on top of the aligned leg pieces, with the countersunk holes facing upwards and the top of the L-shaped bar aligned with the top of the vertical boards. Make sure all the pre-drilled holes on the wood pieces are visible and centered within the angle bar holes.
Secure the legs: Using your power drill or screwdriver (optional), start driving the screws into the wood pieces, beginning from the first leg piece. You can work your way outwards, or secure the first and last leg pieces first, then work on the center sections. This method helps lock everything in place and prevents the pieces from shifting.
Repeat for the bottom shelf: Repeat step 2 and 3 for the second angle bar, positioning it midway down the legs (you should be able to see the small guide holes in the wood through the holes in the angle bar) to create the bottom shelf at the desired height.
Assemble the tabletop/benchtop: Arrange the horizontal boards (top/bottom pieces) on the floor, using the provided spacers to create the desired tabletop/benchtop shape. Use one of the legs as your alignment guide.
Connect the top to the legs: Push horizontal boards towards the assembled leg and align the holes with the countersunk holes on the angle bar. Ensure the horizontal boards are flush against the angle bar. The guide holes in the wood should be centered within the angle bar holes. Drive the screws through the angle bar and into the horizontal boards.
Flip and repeat: Once secured, flip the entire assembly over so that you are again working against the straight wall, and attach the remaining leg to the tabletop/benchtop boards using the same method (steps 2 & 3).
Finishing touches: Now, for the second-level horizontal board (which is actually the bottom shelf when the table/bench is upright) - since you can't lay everything flat on the floor, take one board at a time, starting from the one side. Push it into place under the angle bar, align the holes, and drive in the screws. Repeat for each board, using spacers as needed.
Congratulations! You've successfully assembled your beautiful coffee table (or bench)! For added protection, you can add felt stickers to the bottom four corners. Sit back, relax, and enjoy your handiwork!
